

Hello, happy Tuesday! :) Today lovely Trisha who I got to know through Indie Biz 2.0 and even met in person two times is going to show you an awesome tutorial for how to sew a skirt. :)
***
Hi, I am Trisha from MarySew (http://www.mistyillusions.org/marysew/) and my wonderful friend Lu asked me to share a summer sewing tutorial for her amazing Blog Party. So here is what I came up with:
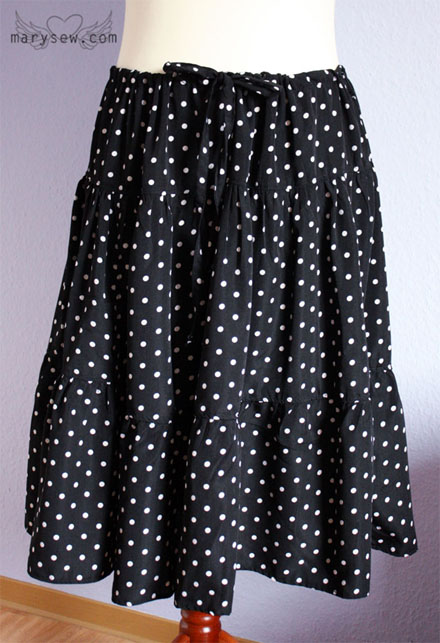
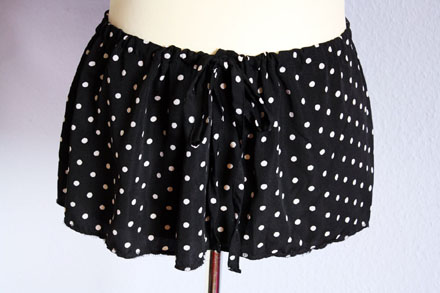
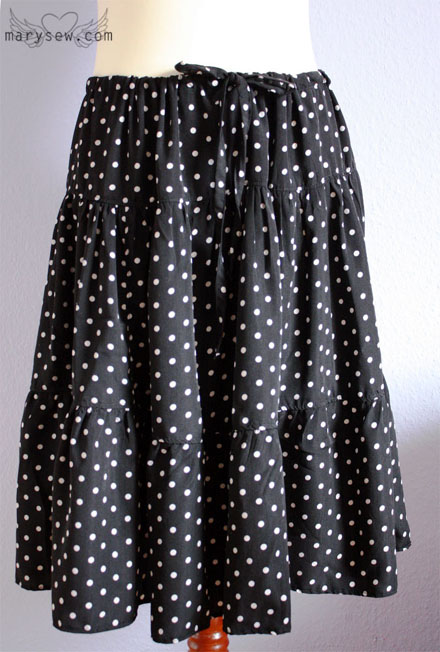
I’m showing you how to make a very simple Tiered Skirt. It’s made from 3 tiers: A, B, and C (see pattern)
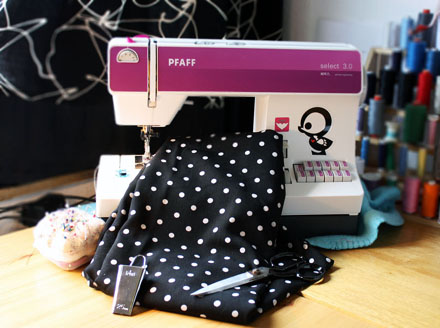
You’ll need about 1,50 – 2,00 meters of lightweight fabric (I used viscose, perfect for the summer). You’ll also need: – sewing machine
– thread, scissors, safety pin, iron
– optional: a bias tape maker, a bit of fusible lining
– thread, scissors, safety pin, iron
– optional: a bias tape maker, a bit of fusible lining

Measure your hip, waist, and how long you want your skirt to be. Cut fabric according to the pattern (you might want to change it according to your measurements). Add seam allowance. Serge all raw edges.
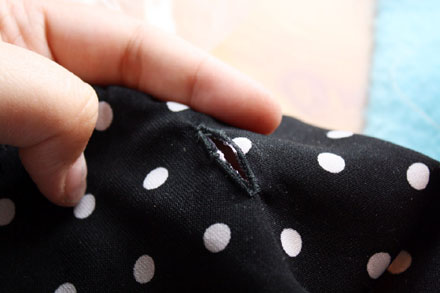
At first you need a buttonhole about 5 cm (2-2,5cm) under the top edge of your fabric, right in the front of skirt. If you’re using a very lightweight fabric you might want to support the button hole by ironing in a piece of fusible lining.
Sew the short ends together. You should have a loop now.
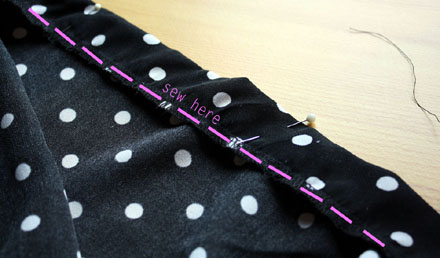
Fold over and sew close to the edge, creating your drawcord.
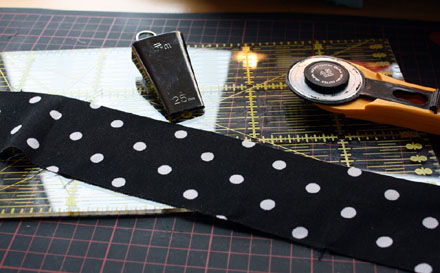
Now we make the drawstring. I use my fancy bias tape maker. If you don’t have a fancy gadget like that, just fold in both sides of your fabric so they meet in the middle.
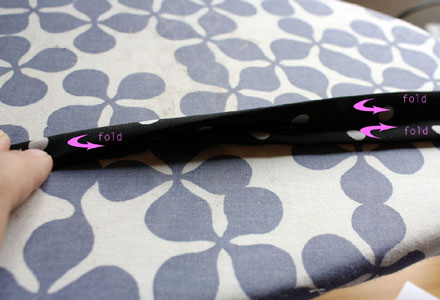
Press over it. Now that you have your bias tape (okay, fake bias tape since it is not cut in bias ;) ) fold it over, press and sew, creating a drawstring. Fold over the ends and sew.
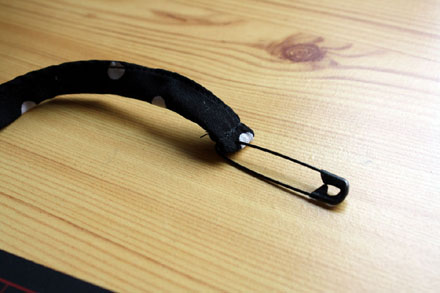
Use a safety pin to get the drawstring in the drawcord. You should now have a very short skirt ;)
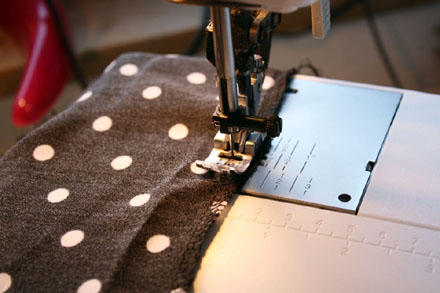
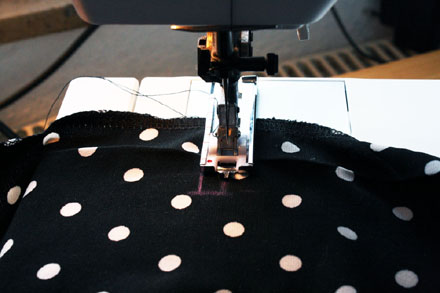
Now we need tier B. Set your sewing machine to a very long gather stitch and sew along the top edge. Don’t (!) lockstitch (backstitch)!
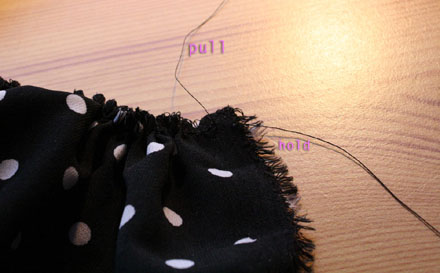
Gather carefully by pulling the bottom thread. Make sure you’re using a strong thread. Gather to a length that is the same as tier A and sew the short ends together.

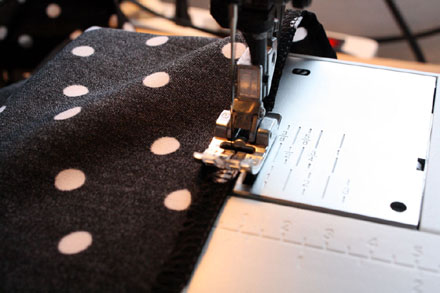
Pin tier A and B together, right sides facing each other, and sew them together. Press your seam allowance up towards to tier A and top stitch.
Now repeat that step with tier C.
Hem your skirt and that’s it. Easy peasy summer tiered skirt.
A few basic sewing tips for this skirt:
– If you use very lightweight/summer-y fabric make sure you’re using the right needle.
– You can also use elastic band instead of a drawstring. No need of a buttonhole then ;)
– Serge all your raw edges or your skirt might fall apart when after you washed it for the first time. Just use your zigzag stitch. If you don’t know how to, I made a tutorial about it here (http://www.mistyillusions.org/marysew/?p=3022)
-Don’t underestimate the seam allowance ;)
Have fun sewing!!
Liebe Grüße, Trisha
***
Thank you so much for sharing this great tutorial! <3
Lu


süß! genauso einen tock hat meine mutter mit vor 20 jahren mal in rosa/pünktchen genäht!! :)
<3
Aww, this is super sweet :) I especially like her sewing machine <3